
Here’s what you’ll need:
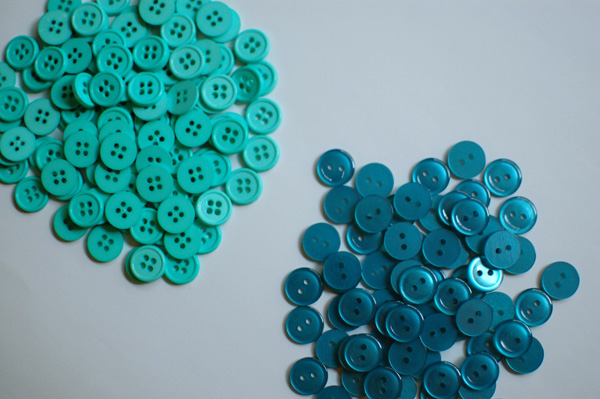
- Buttons
- Glue
- A hemispheric mold (I used a curved Tupperware lid)
- Release agent (I used aluminum foil)
Here’s what you’ll do:
Line your hemispheric mold with aluminum foil. You can use the inside or outside of your mold. I chose the inside and think that the weight of the buttons resting against each other made things easier.
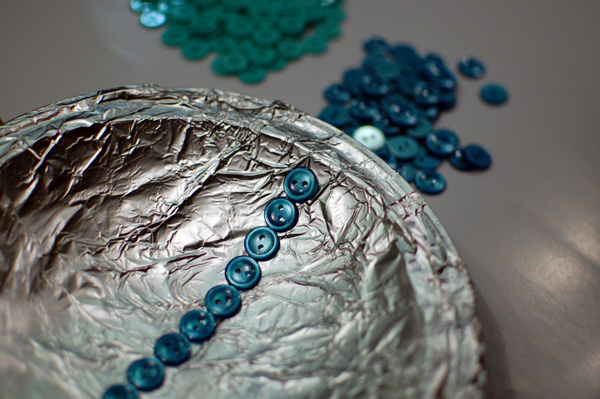
Pour some glue onto a plate and dip the edge of your button into the glue. (I dipped them in two spots so they’d adhere to the buttons on either side of them.

Place your first button in the center and place remaining buttons on either side until you have completed your bowl. I completed one line at a time so that I could be sure they were straight.
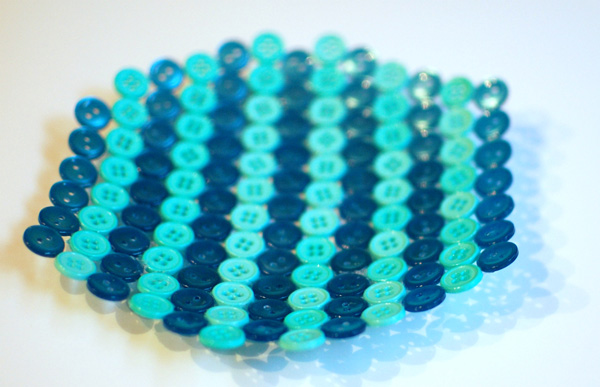
Allow your bowl to dry completely. I left mine to dry overnight. Gently peel the aluminum foil from the bowl.
Tips for making a button bowl:
Play with different colors of buttons. Try creating fun patterns with a variety of different colors, including translucent buttons.
Try making different sizes of bowls. Small bowls are perfect for kids' rooms, larger bowls can make a gorgeous centerpiece.
Use Mod Podge to create a smooth, shiny finish.
No comments:
Post a Comment